Following and adding POI
When you start a scenario in TS you can follow the train by clicking the Track button.
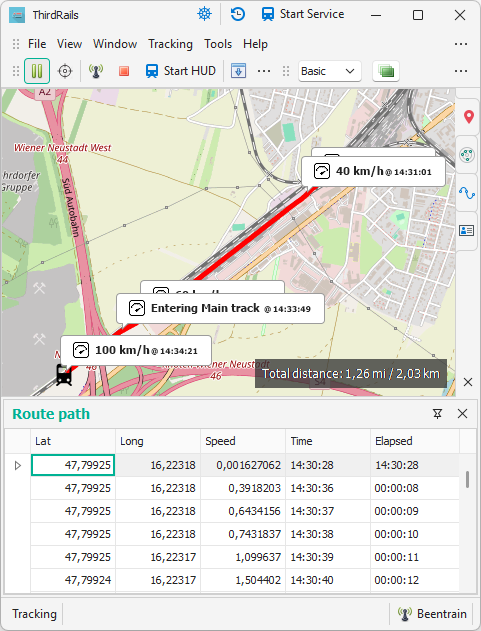
At start a POI is placed on the current location of your train, this is the Start POI. When you start driving the route path of the train is drawn on the map as a red line.
Click the POI button to slide out the Quick POI add panel. You can add three kinds of POI:
1.  Speed. For speed indications.
2.  Destinations. For stations, yards etc.
3.  Info. For general info.
4. Announcement POI see Spoken Announcements
Give a description, and optional extra info. (In fact the description is also optional, but will be helpful to identify a POI.
A POI is represented in the map by a call out. At the bottom of the form a list of added POIs is build. There you will be able to edit POI information by clicking in the grid cell. After saving the POI, the call out is updated.
Extra Info is hidden, by default, in the list. You can add this column to the grid via the grid column popup menu. Right click on a column header to activate the menu. Choose Column Chooser to get a view of the hidden columns. Drag the Info column on the grid.
For a POI are two additional data extracted from TS:
1. The time
2. The elapsed time
This can be handy for building scenarios.
After Start following, and adding a POI, focus can automatically be shifted back to TS based on a setting.
The POI panel can stay open or closed also based on a setting.

Created with the Personal Edition of HelpNDoc: Say Goodbye to Documentation Headaches with a Help Authoring Tool